Platinum Scraps was originally launched February of 2010 as a vision of several friends who met on the Cricut Message board who wanted to venture out into creating, sharing, and showcasing the many talents each of us possess. Platinum Scraps showcases the diversity in scrapbooking and features designers from all walks of life. To keep the tradition going, each week our design team is challenged to create a unique layout or card based on a sketch that exemplifies their skills and talents. We hope that we inspire your creations and we appreciate your continued love and support as we grow together.

Thursday, February 25, 2010

Time Out Thursday

NubianCrafter brings us this weeks Time Out Thursday featuring the UTEE embossing powder to create a faux epoxy look.

Materials:

* Ultra Thick Embossing Enamel ( UTEE)
* Versamark Stamp Pad
* Heat Tool
* Heat Safe Mat
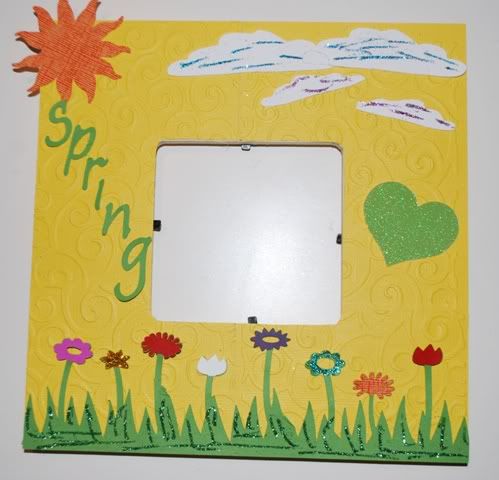
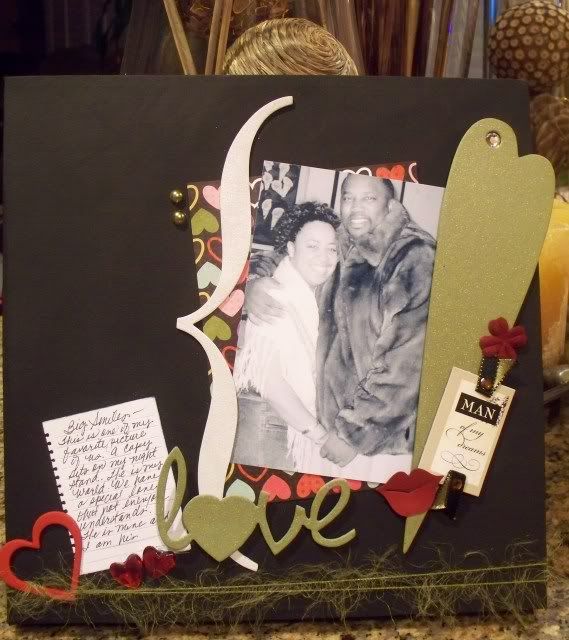
* Embellishments ( Prima and die cut)


Steps:

1. Prepare your workspace. You will need a heat safe mat, twizzers ( or something long) to hold your embellishments, and a glitter caddy or other object to catch the unused UTEE.

2. Coat your prima flower with versamark ink. Make sure you cover the entire area...

3. Pour UTEE over your prima flower, tap off excess.

4. Use the heat tool to evenly heat your prima flower... Be careful UTEE is very hot and will burn! ( Make sure to do this over the heat safe mat)

5. While hot, reapply UTEE to your prima, repeat steps 3 and 4. For the example I applied 4 coats of UTEE.

6. Set aside and let cool.

7. Adhere your prima to your project!!!!


Tips:

* UTEE is very hot so handle carefully...

* Thicker cardstock or chipboard works better than a thinner material.

* The first heated coat of UTEE will look very bumpy, no worries it smooths out with each application.

* If you make a mistake, reheat your embellishment or reapply versamark.

* You can add additional colors to your embellishments by using glitter, glimmer mist, and inks before applying UTEE.

* UTEE comes in several colors... Experiment and have fun!!!


Monday, February 22, 2010

Altered Picture Frame Challenge

This week's challenge was to alter a picture frame. 

"Spring"


"Cherished Moment"


"The Best Thing About Me Is You"


"The Nation's Captial"
Mini Accordian Picture Frame - 1

"The Nation's Captial"
Mini Accordian Picture Frame - 2
SanuraScraps

"The Nation's Capital"
Mini Accordian Frame - 3
SanuraScraps

"Live, Laugh, Love"


"Smile"
CurlyLocDiva


"Lupus Walk"
CurlyLocDiva


"Soul"

Thursday, February 18, 2010

Time Out Thursday

P-Kay Sunshine shares a gypsy tip.  I got my gypsy at the launch in September.  I have enjoyed being able to design my layouts and cards prior to cutting.  Here is how I design my layouts.

For a 2 page layout, I use the 12x24 mat and add each item and its shadow like I want it on the paper.  I make sure each item is grouped with its shadow.  Here is the completed layout on the gypsy screen.


I then move everything to the right side of the screen so that it is only on one 12x12 mat.  Make sure you move the items grouped.


I change the mat size to 12x12 and copy/paste each image on several pages.  This particular layout ended up being 5 pages.
Here is everything bunched togeter on the 12x12 mat.


Here are the 5 pages after I copied/paste on seperate pages for cutting.


I love doing my layouts and cards this way.  It is so easy and it allows me to tweak my projects to make them just right.

Monday, February 15, 2010

Card Sketch Challenge


This weeks sketch was submitted by PKaySunshine.  The sketch comes from Page Maps by Becky Fleck.  Each designer really did great on the layouts for this challenge.  For anyone knew to blogging, if you click on the designer's name, that will allow you to go directly to that designer's blog. 


"Love"


"Friend"
CurlyLocDiva


"On The Wings Of Love"


"Bliss"

"Love"


"Follow Your Dreams"
ShellyWorld


"Black & Gold"

"Free"


"Butterfly"

Thursday, February 11, 2010

Time Out Thursday


Tsrel (Tonya) shares her ribbon storage tip.  Many of us love, love, love ribbon.  But after collecting (oops purchasing) so much ribbon, space becomes an issue.  After trying many ideas from the ribbon storage container at Walmart, to just a large box with them all dumped together I have found a great idea that is inexpensive and allows me to color code the ribbon as well.  I use Ziploc storage bags and rubber bands to house my ribbon.  I take the ribbon off the spools, wrap it up and bind it with the rubber band.  Then the ribbon is sorted by color and placed in the zip loc bag.  I place the Ziploc bags in my Jetmax drawer specifically for ribbons.  This has worked wonders and allows me to see just what I have.  No more bulky spools and it allows me more room to "Collect" ribbon.  Hope this idea will inspire you to share with us your ribbon storage tips.


Monday, February 8, 2010

Free For All Challenge

This week's challenge is a free for all challenge.  The designers can do whatever they feel.  The only requirement is that it should be Valentine/Love inspired.


"Reasons Why I Love You"
Cassaundra


"Love Rain Down"
Pamela


"Love"
Leialoha


"Love Bucket"
Kadawndra

Friday, February 5, 2010

And the Winner Is.....

RaiderSoonerMom

She said...

Congratulations on your new site! I love the creativity of you talented ladies! I haven't used this cart but am dying to, especially after seeing these gorgeous layouts! You ladies rock! I will definitely be following I wish you all the best!

Thank you all for following our blog and for the awesome comments!  Be sure to check back often for more amazing projects and blog candy!

Wednesday, February 3, 2010

Time Out Thursday

In addition to our weekly challenges, we will post a weekly "time out" item.  This could be anything from a tip, a short video or even a project from one of our excellent designers.

This week we are featuring Truthfully98's outstanding Forever Young purses.  Be sure to visit her blog,  Good to the Last Crop to view more of her amazing crafts.  Here is how she crafted these amazing bags:

1. Cut the bags to fit a 8 1/2 x 11 sheet of paper. If you want to emboss them with the cuttlebug you must make sure you don't make them too big.
2. Run them through the cuttlebug with the tiny mosaic folder. (This took some manipulating since it is an odd shape)

3. Assemble the bag.

4. Stamp the bag with versamark watermark ink.

5. Pour clear embossing powder over the bag and shake off the excess.

6. Take your heat gun and melt the embossing powder.

7. Accessorize

Related Posts Plugin for WordPress, Blogger...