
Materials:
1. blank card
2. overlay paper for card
3. iris folding pattern
4. painters tape
5. regular scotch tape
6. scissors
7. foil paper (can be origami paper or thin wrapping paper)

Steps to complete the iris fold with pictures

Trace the iris pattern onto your background paper for card.
Cut out your pattern.

Use painters tape to tape background pages to your work space.
Use painters tape to tape the iris folding pattern onto the "spot" where you cut it out.
Note: Painters tape works best so when you take tape off after folding, it doesn't ruin or rip your paper!

Pick the foil paper that you want to use.Take your iris folded paper and glue it to your card.
I like to use origami paper or foiled wrapping paper because
it doesn't make the paper bulky when you glue it to your card.
Cut the foil paper into strips.
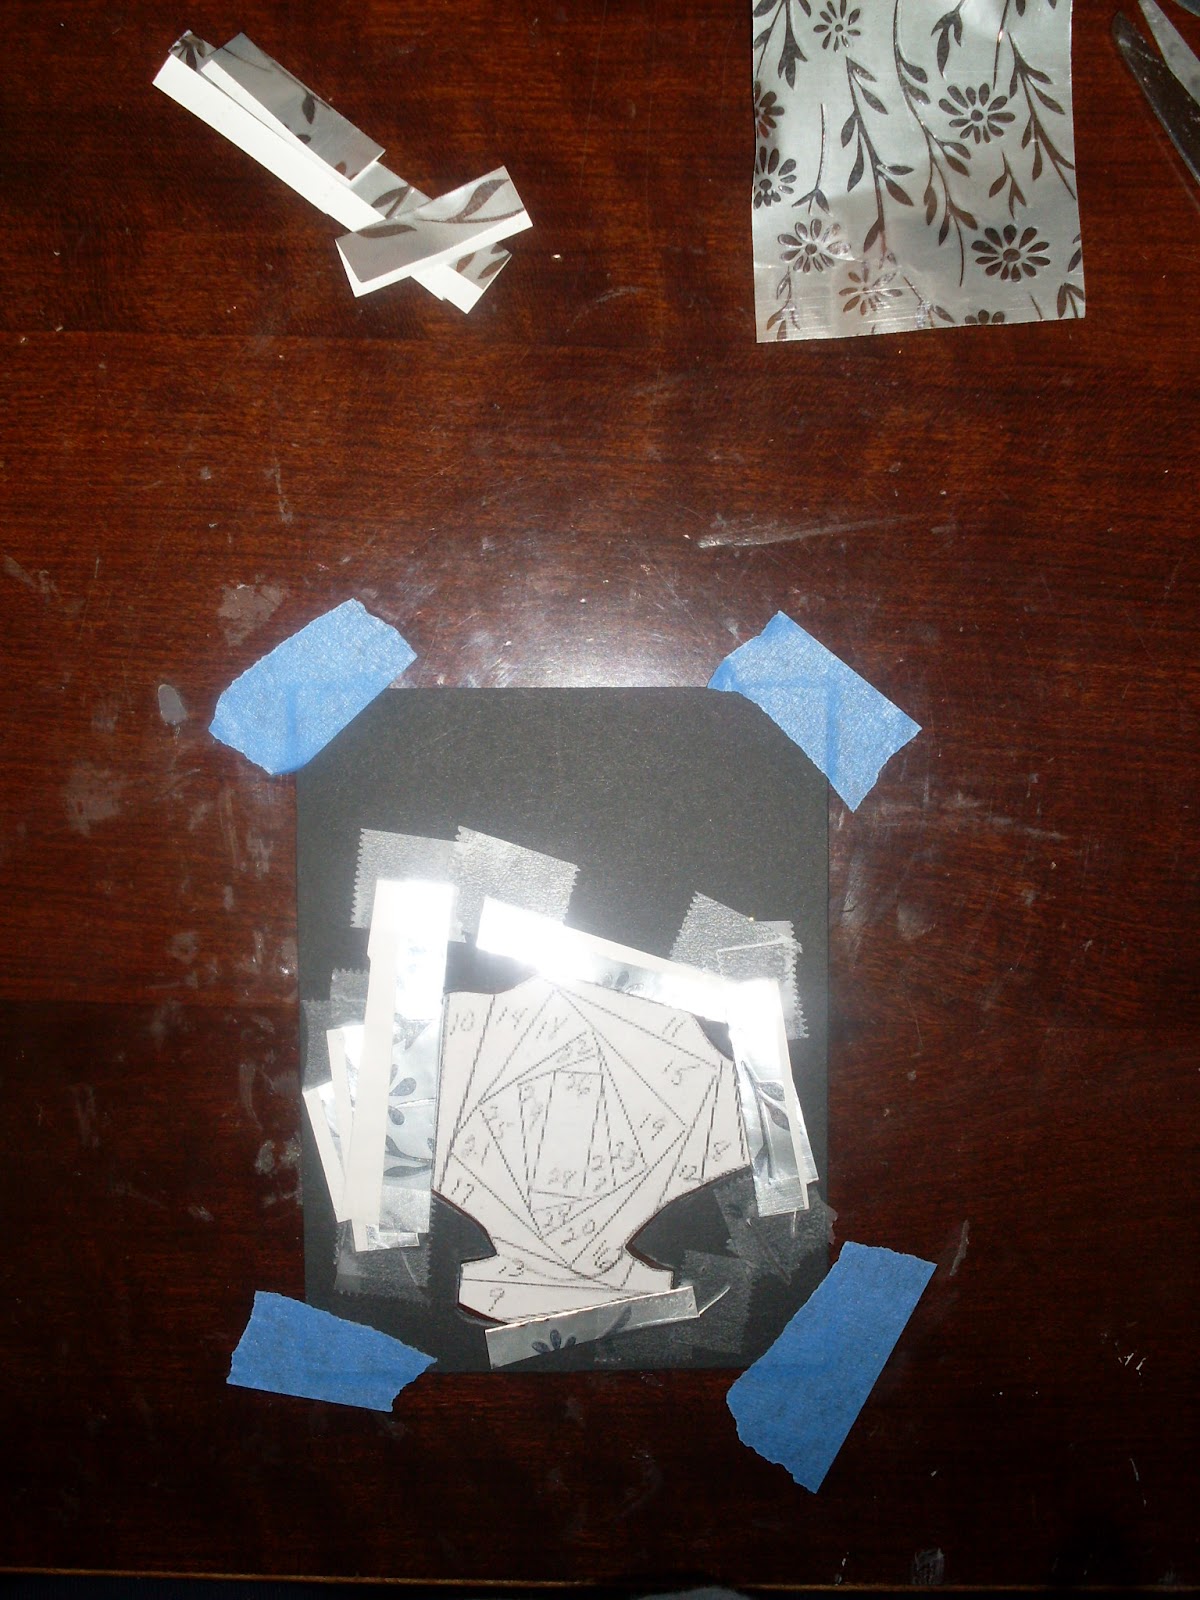
First, fold a strip of foiled paper and place the folded end on the pattern line.
Use your scotch tape to hold this strip of paper in place.
Using the number pattern, fold and tape the paper to your pattern.
Make sure the tape DOES NOT GET STUCK TO THE PATTERN.

Fold and tape around your pattern.
It's called "iris" folding because of the iris you will see in the middle of your pattern.
When you get to the last piece (the iris) take a small piece of the foiled paper (do not fold) and cover the iris.
Yes, it looks messy, but BELIEVE ME, when you turn the paper over, you will like what you see!

Ta Da!! Here is your "messy" pattered paper turned over to reveal a fabulous fan!

Make sure you put glue on the edges of your iris page.
You don't want the page to "lift" from your card.
Then, embellish with flowers of whatever your desire.
Note: The iris pattern is located on a pattern CD I brought from e-bay long, long ago!!!
However, if you need a little inspiration, go to yahoo and look up the iris folding group.
It's great!! Do enjoy your iris folding experience.
Sanuara, as usual, you rocked this layout. I bought some of the paper and will try my hand this weekend. Will post here when I do.
ReplyDeleteVery nice. I never understood how to get it to look like they said it would but now, thanks to your tutorial, I see how you get the final image. TFS
ReplyDeleteNice tutorial, tfs.
ReplyDeleteGreat job!!! I will need a one-on-one lesson. TFS
ReplyDeleteThanks for the tutorial Sanura. You make it look so easy!
ReplyDeleteI love to iris fold! I have quite a few patterns. It is a great way to use your scraps also. Thanks for sharing!
ReplyDeletevery pretty, one day i will be brave enough to try!
ReplyDeleteCOOL! Thanks for the instructions!
ReplyDeleteLove the results! Thanks for sharing! I think I need the "dummies" version (insert blushing smiley here)!
ReplyDelete