Today we are giving away a gift card that was donated by our very first sponsor Erica over at http://www.yourscrapbookstash.com/. This online company features many of the newest products on the market and strives to continually update the merchandise available. She has just announced that many of the products from CHA are now shipping. Her online store carries many products from companies like 7 Gypsies, Teresa Collins, and Bo Bunny just to name a few.
All you have to do to win this great gift card giveaway is simple.
a. If you are not a follower, sign up to become one and leave a comment on this post.
b. If you are already one of our valued followers, then just leave a comment on this post.
The drawing will be open until midnight (pacific standard time), Thursday, April 1, 2010. No, it is not an April Fool's joke. We will use random.org to pick the winner. The winner will be announced here and on the Cricut Messageboard.
 Platinum Scraps was originally launched February of 2010 as a vision of several friends who met on the Cricut Message board who wanted to venture out into creating, sharing, and showcasing the many talents each of us possess. Platinum Scraps showcases the diversity in scrapbooking and features designers from all walks of life. To keep the tradition going, each week our design team is challenged to create a unique layout or card based on a sketch that exemplifies their skills and talents. We hope that we inspire your creations and we appreciate your continued love and support as we grow together.
Tuesday, March 30, 2010
Monday, March 29, 2010
Easter Sketch Challenge
This week our design team sketch was selected by Shelly. Shelly selected a sketch by a wonderfully talented sketch artist that is new to many of us on the team, Rowena. You may visit her blog at http://cropdivasdestination.blogspot.com/.
Each designer was challenged to create an Easter Themed layout. For those new to the world of blogging, you can view more of each designer's work by clicking on their name under their project.
A beautiful bonus has been added to our design team as well. Craftin Curt has so graciously agreed to become a permanent member of our team. Curt will bring a unique and beautiful male point of view to this wonderful craft. Thank you Curt and Welcome Aboard.
Thanks for your continued support as Platinum Scraps travels down this wonderful world of designing.

The Sketch

"Bunny Suits"

"Easter Sunday"

"Happy Easter"

"Easter Egg Hunt"

"Easter"

"Happy Easter"

"Our Savior Lives"

"Rejoice, Jesus Lives"
tsrelLet's see your creations! Make a project using the provided sketch and upload it to your blog or online gallery. Then leave a link to your project using the Mr. Linky form. Mr. Linky will available until April 10th.
Thursday, March 25, 2010
Time Out Thursday - How to Apply Heat Transfer Vinyl

Supply List:
1. Pre-washed, Pre-ironed t-shirt
(Do not use fabric softner or dryer sheets when washing)
2. Heat transfer vinyl in various color
( I use Siser Easy Weed)
3. Design Studio (DS) or Gypsy (G)
4. Iron
5. Parchment Paper or Teflon Sheets
6. Vinyl Pick or Tweezers
.jpg)
1. Select your cartridge.
( For this project, I used Mickey and Friends)
2. Apply vinyl shiny side down to your Cricut mat.(Ensure vinyl is attached to your mat securely before preceding)
3. Change settings on your Cricut.
(Setting your pressure, blade, and speed to 3 seems to work best)
4. The Cricut will not cut through the vinyl rather it will "kiss" the vinyl.
(Kiss the vinyl = the blade will graze or barely puncture the vinyl)
.jpg)
1. While vinyl is still on the mate, use your pick or tweezers
to weed your vinyl. Discard the weeded vinyl.
2. Pre-heat iron on the cotton setting.
(You will need to work on a hard/solid surface. The ironing
board does not work well.
3. Iron your shirt.
(Shirt needs to be wrinkle free before preceding)
.jpg)
1. Lay your base vinyl piece shiny side up onto shirt.
(Ensure the placement is accurate, once heat is applied the
vinyl is permanent)
2. Cover your vinyl with parchment paper or teflon papervinyl is permanent)
and firmly press your iron onto the paper for 25 - 30 seconds.
(Make sure you apply this step over the entire image)
3. Move the iron around image for 5 - 6 seconds.
4. Allow vinyl to cool for 25 - 30 minutes.
5. While the base is still cooling, trim the clear edges of your layered piece.
(Leave as little of the clear covering around your image as possible)
Note: Some irons may require more heating time.
Once cool, slowly remove the clear plastic coating. If you notice that areas of
the vinyl are not applied, reapply heat and allow vinyl to cool for a few minutes.
.jpg)
1. Layer your vinyl.
(This step can be done 1 of 2 ways that I am aware of)
I prefer to apply all my layered vinyl at once to my base image.
2. Arrange vinyl pieces onto your base image, ensuring proper placement.
3. Cover with parchment paper and firmly press your iron onto paper for
about 15 seconds (this step requires less heat).
4. Move the iron over image for about 5 seconds.
5. Allow to cool for 3 - 5 minutes.
6. Once cool, remove plastic coating.
7. Recover your image with the parchment paper and move iron over image
for about 3 - 4 seconds.
Your t-shirt is now complete.
*The other step for layering your vinyl is to layer one step at a time.

Completed Project
Remember to wash and/or iron your completed shirt inside out.
Vinyl can be purchased at
Enjoy.
Monday, March 22, 2010
March Altered Item
This week each designer had free reign on their creativity by altering an item of choice. Every creation is unique and different. To see more of each designers work, click on their name to visit their individual blogs. TFL.


%201.jpg)


Let's see your Altered items. Post a link to your blog here:

"Happy Spring"
Door Hanger

"Blossom"
Altered Box
%201.jpg)
"Disney"
Heat Transfer Vinyl T-Shirt

"Kosher Salt"
Before Picture

"Tool Holder"
After Picture

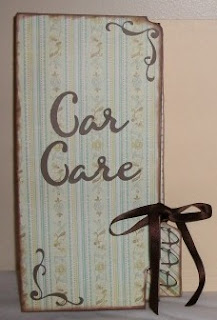
"Car Care"
Outside View
Gr8tful

"Car Care"
Inside View
Gr8tful

"Family"
Wall Hanger
Let's see your Altered items. Post a link to your blog here:
Thursday, March 18, 2010
Time Out Thursday - Post It Note Holder
This week's Time Out Thursday is brought to you by our very own Leialoha. She will demonstrate how to make a 3.5 by 4.5 post it note holder.

Supplies Needed:
Stampendous Cling Rubber Stamp
Making Memories Glittered Flowers
From My Kitchen Cartridge
Small Binder Rings
Cricut Design Studio
Patterned Paper
Post It Notes
Chipboard
Stickles
Ribbon
*Any stamp may be used to complete this project.

Step 1
Screen Shot of the File Cut at 3.5 X 4.5

Step 2
I used From My Kitchen Cricut Cart to create the holder tabs for the post-it notes.
Here is a look at the completed cut.
I used this same cut for the printed paper to cover the chip board tabs.

Step 3
Completed - outside
(includes ribbon, stamps and stickles)

Step 4
Completed - inside
(includes post-it notes, 2010 mini calendar and flowers)
Monday, March 15, 2010
March Card Sketch
This sketch was submitted by two designers: Curlylocdiva and Truthfully98. What are the odds of that happening? The challenge sketch comes from the June 2007 card sketches over at Page Maps.


"Hello"
Outside View

"Hello"
Inside View

"Sunny Days"

"Thanks for Being You"

"Happy Mother's Day"

"From This Day Forward"
Outside View

"From This Day Forward"
Inside View
"Summer Fruits"


"Friends"
Friday, March 12, 2010
Easter Mini Cart Blog Candy
And the winnner is.......
Paperscissors.
She said...
my first visit, came from message board! loved the butterfly card sketch creations, lots of talent here!
Thank you all for following our blog and for the awesome comments! Be sure to check back often for more amazing projects and blog candy
Paperscissors.
She said...
my first visit, came from message board! loved the butterfly card sketch creations, lots of talent here!
Thank you all for following our blog and for the awesome comments! Be sure to check back often for more amazing projects and blog candy
Thursday, March 11, 2010
Time Out Thursday - Iris Fold Technique
Sanura Scraps showcases her beautiful Iris fold technique on this week's Time Out Thursday.
Materials:
1. blank card
2. overlay paper for card
3. iris folding pattern
4. painters tape
5. regular scotch tape
6. scissors
7. foil paper (can be origami paper or thin wrapping paper)


Materials:
1. blank card
2. overlay paper for card
3. iris folding pattern
4. painters tape
5. regular scotch tape
6. scissors
7. foil paper (can be origami paper or thin wrapping paper)

Steps to complete the iris fold with pictures

Trace the iris pattern onto your background paper for card.
Cut out your pattern.

Use painters tape to tape background pages to your work space.
Use painters tape to tape the iris folding pattern onto the "spot" where you cut it out.
Note: Painters tape works best so when you take tape off after folding, it doesn't ruin or rip your paper!

Pick the foil paper that you want to use.Take your iris folded paper and glue it to your card.
I like to use origami paper or foiled wrapping paper because
it doesn't make the paper bulky when you glue it to your card.
Cut the foil paper into strips.
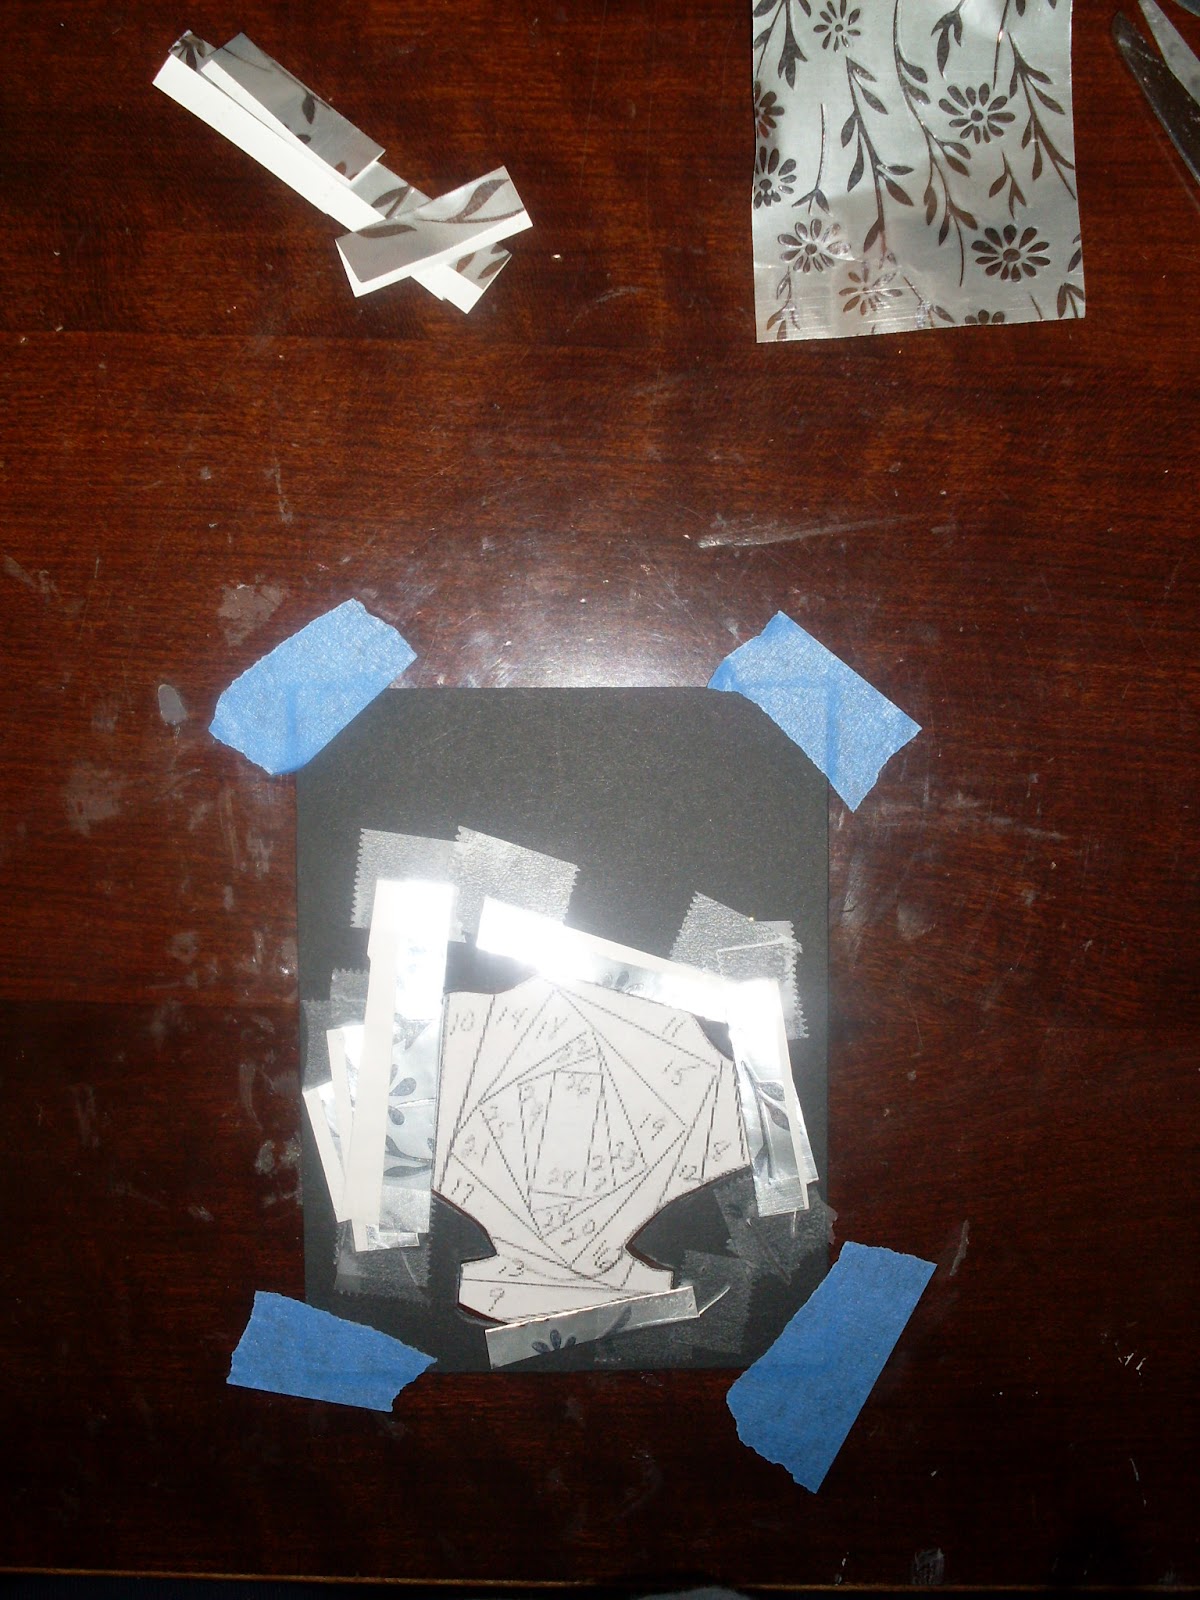
First, fold a strip of foiled paper and place the folded end on the pattern line.
Use your scotch tape to hold this strip of paper in place.
Using the number pattern, fold and tape the paper to your pattern.
Make sure the tape DOES NOT GET STUCK TO THE PATTERN.

Fold and tape around your pattern.
It's called "iris" folding because of the iris you will see in the middle of your pattern.
When you get to the last piece (the iris) take a small piece of the foiled paper (do not fold) and cover the iris.
Yes, it looks messy, but BELIEVE ME, when you turn the paper over, you will like what you see!

Ta Da!! Here is your "messy" pattered paper turned over to reveal a fabulous fan!

Make sure you put glue on the edges of your iris page.
You don't want the page to "lift" from your card.
Then, embellish with flowers of whatever your desire.
Note: The iris pattern is located on a pattern CD I brought from e-bay long, long ago!!!
However, if you need a little inspiration, go to yahoo and look up the iris folding group.
It's great!! Do enjoy your iris folding experience.
Tuesday, March 9, 2010
March Free For All
This week's challenge gave each designer a chance to showcase their talents without the assistance of a sketch. The only requirement is the project had to be spring related. Our designers have each put a different twist on a spring project. Hope you enjoy.


"Candy Tin"
Front View

"Candy Tin"
Top View

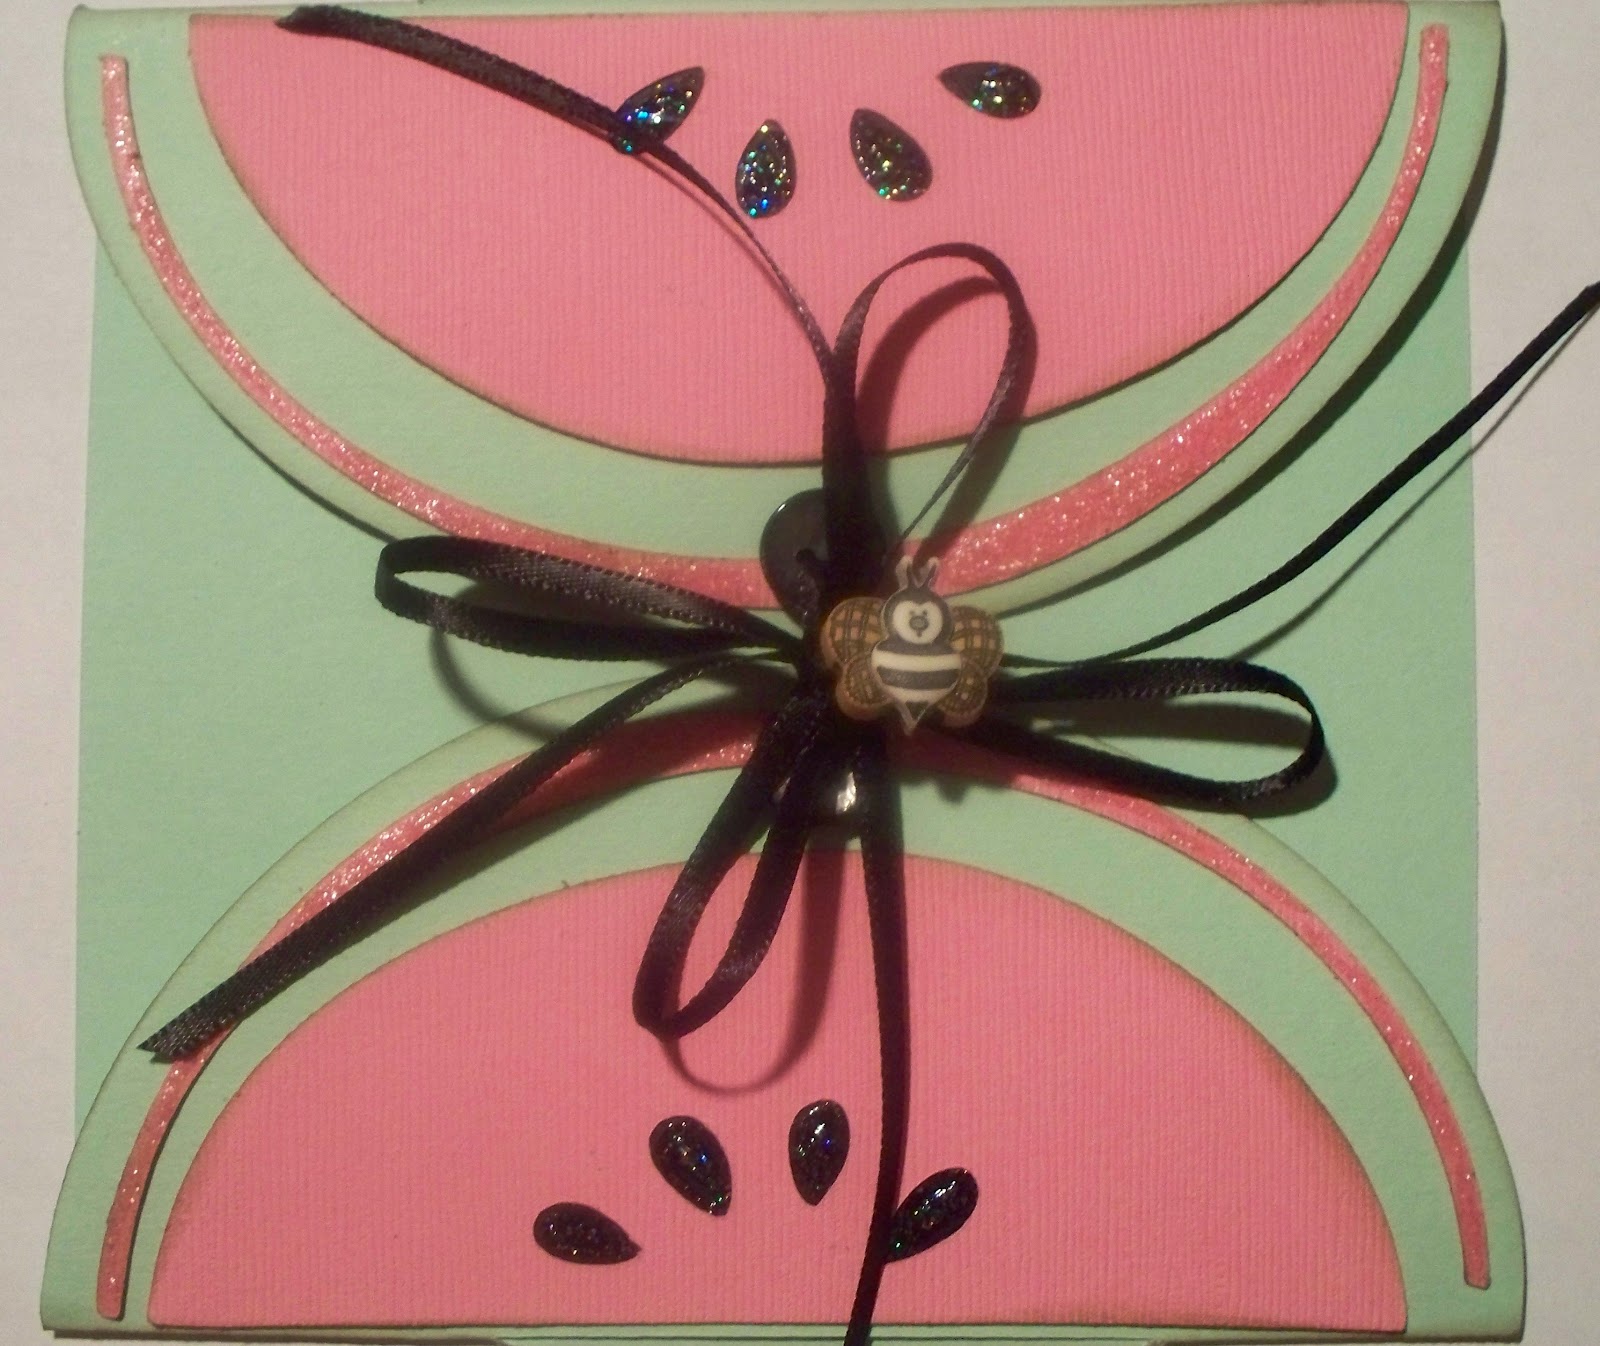
"Slice of Spring"
Front View

"Slice of Spring"
Individual Slices

"My Peeps"

"Sweet Baby"
Gr8tfu1

"E-I-E-I-O"

"My Secret Garden"
Front View

"My Secret Garden"
Inside View

"Spring Journal"
CurlyLocDiva

"Spring Door Hanger"
Subscribe to:
Posts (Atom)